
This documentation explains how to use the Paketo buildpacks to build applications that include application monitoring tools.
The Apache Skywalking integration is enabled with bindings through the Apache Skywalking Buildpack. If a binding of the correct type, ApacheSkyWalking, is provided at build-time then an agent appropriate for the application will be contributed to the application image.
Connection credentials will be read from the binding at runtime, with the binding secrets being transformed to system properties with the following the pattern -Dskywalking.<KEY>=<VALUE>.
The buildpack supports the Java language.
The AppDynamics integration is enabled with bindings through the AppDynamics Buildpack. If a binding of the correct type, AppDynamics, is provided at build-time then an agent appropriate for the application will be contributed to the application image, as well as any required configuration files.
Connection credentials will be read from the binding at runtime, with the binding secrets being transformed to system properties with the following the pattern APPDYNAMICS_<KEY>=<VALUE>.
The buildpack supports the Java, Node.js & PHP languages.
The Aternity integration is enabled with bindings through the Aternity Buildpack. If a binding of the correct type, AppInternals, is provided at build-time then an agent appropriate for the application will be contributed to the application image.
Connection credentials will be read from the binding at runtime, with the binding secrets being transformed to system properties with the following the pattern <KEY>=<VALUE>.
The buildpack supports the Java language.
The Azure Application Insights integration is enabled with bindings through the Azure Application Insights Buildpack. If a binding of the correct type, ApplicationInsights, is provided at build-time then an agent appropriate for the application will be contributed to the application image.
Connection credentials will be read from the binding at runtime, with the binding secrets being transformed to system properties with the following the pattern APPLICATIONINSIGHTS_<KEY>=<VALUE>.
The buildpack supports the Java and Node.js languages.
The Datadog integration is enabled by setting an environment variable for the Datadog Buildpack. If the environment variable BP_DATADOG_ENABLED is set to a truthy value (i.e. true, t, 1 ignoring case) at build-time then an agent appropriate for the application will be contributed to the application image.
Datadog configuration is read from any of the standard Datadog environment variables that are set at runtime. This happens directly, the buildpack does not translate them. You can find the full list of configuration properties in the Datadog documentation available here.
The Datadog agent requires a side-car agent to be running in addition to the Java agent. This side-car agent runs outside of the buildpack generated image. The standard Datadog instructions for your container orchestrator of choice can be used to install this agent. The Paketo team also has detailed instructions for various runtimes available here.
The buildpack supports the Java and Node.js languages.
The Dynatrace integration is enabled with bindings through the Dynatrace Buildpack. If a binding of the correct type, Dynatrace, is provided at build-time then the Dynatrace OneAgent will be contributed to the application image, and DT_TENANT, DT_TENANTTOKEN, and DT_CONNECTION_POINT are set for launch time.
The binding must include the following required Secret values to successfully contribute Dynatrace:
api-url, which is the base URL of the Dynatrace API or environment-id, which is a URL is configured in the form: https://<environment-id>.live.dynatrace.com/api.api-token, which is the token for communicating with the Dynatrace service.Any additional configuration information will be read from the binding at runtime, with the binding secrets being transformed to system properties with the following the pattern DT_<KEY>=<VALUE>.
The buildpack supports the .NET, Go, Java, NodeJS, and PHP languages, as well as the NGINX and Apache HTTPD servers.
The Elastic APM integration is enabled with bindings through the Elastic APM Buildpack. If a binding of the correct type, ElasticAPM, is provided at build-time then an agent appropriate for the application will be contributed to the application image.
Connection credentials will be read from the binding at runtime, with the binding secrets being transformed to system properties with the following the pattern ELASTIC_APM_<KEY>=<VALUE>.
The buildpack supports the Java and Node.js languages.
The Google Stackdriver Buildpack has two integrations, a debugger and a profiler, which are independently installed as requested by the user.
The buildpack supports the Java and Node.js languages.
The Stackdriver Debugger integration is enabled with bindings. If a binding of the correct type, StackdriverDebugger, is provided at build-time then an agent appropriate for the application will be contributed to the application image.
The GOOGLE_APPLICATION_CREDENTIALS is set to the path of the ApplicationCredentials secret.
The Stackdriver Debugger integration is enabled with bindings. If a binding of the correct type, StackdriverProfiler, is provided at build-time then an agent appropriate for the application will be contributed to the application image.
The GOOGLE_APPLICATION_CREDENTIALS is set to the path of the ApplicationCredentials secret.
The JProfiler profiler integration is enabled by setting an environment variable for the JProfiler Buildpack. If the environment variable BP_JPROFILER_ENABLED is set to a truthy value (i.e. true, t, 1 ignoring case) at build-time then an agent appropriate for the application will be contributed to the application image.
Once contributed to an application image, the JProfiler support can be toggled on/off by setting BPL_JPROFILER_ENABLED to a true or false value at runtime. Additionally, BPL_JPROFILER_PORT can be set at runtime to customize the port on which the agent listens, defaults to 8849, and BPL_JPROFILER_NOWAIT can be set to control if the JVM will execute before JProfiler attaches to the process, defaults to true.
The buildpack supports the Java language.
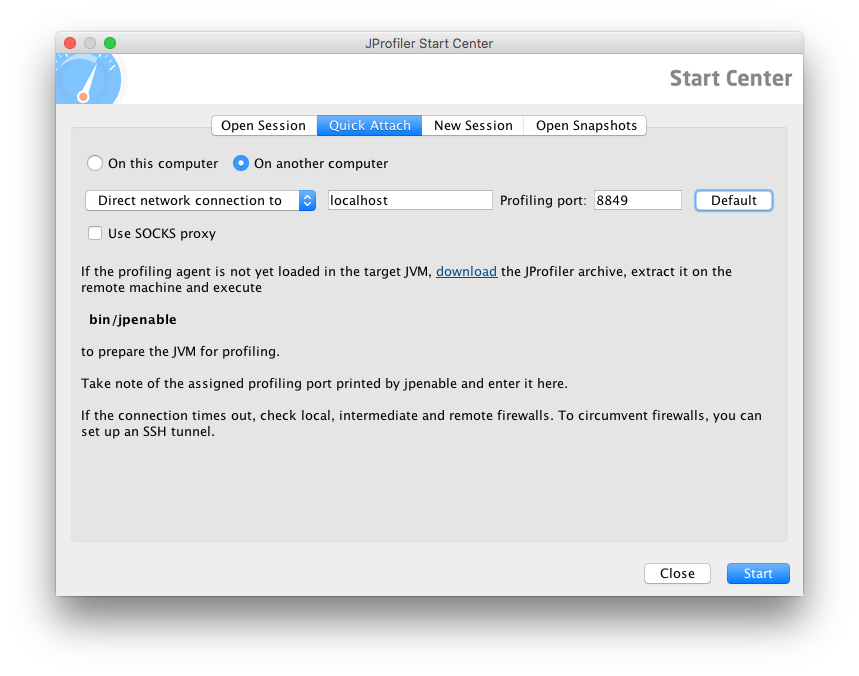
JProfiler, which runs on your local computer, must connect to a listening port within your container. When starting an application with debugging enabled, a port must be published.
To publish the port in Docker, use the following command:
$ docker run --publish <LOCAL_PORT>:<REMOTE_PORT> ...

The REMOTE_PORT should match the port configuration for the application (8849 by default). The LOCAL_PORT can be any open port on your computer, but typically matches the REMOTE_PORT where possible.
Once the port has been published, your JProfiler Profiler, running on your local computer, should connect to localhost:<LOCAL_PORT> for profiling.
The New Relic integration is enabled with bindings through the New Relic Buildpack. If a binding of the correct type, NewRelic, is provided at build-time then an agent appropriate for the application will be contributed to the application image, as well as any required configuration files.
Connection credentials will be read from the binding at runtime, with the binding secrets being transformed to system properties with the following the pattern NEW_RELIC_<KEY>=<VALUE>.
The buildpack supports the Java, Node.js and PHP languages.
The OpenTelemetry integration is enabled by setting an environment variable for the OpenTelemetry Buildpack. If the environment variable BP_OPENTELEMETRY_ENABLED is set to a truthy value (i.e. true, t, 1 ignoring case) at build-time then an agent appropriate for the application will be contributed to the application image.
One contributed to an application image, the OpenTelemetry support can be toggled on/off by setting OTEL_JAVAAGENT_ENABLED to a true or false value, it defaults to false. You may also turn on/off metric exporting by setting OTEL_METRICS_EXPORTER to a true or false value. You may configure any of the OpenTelemetry configuration settings the same way.
You may also configure OpenTelemetry settings via bindings passed into the application. The binding requires a type of opentelemetry. Binding key/values map directly to OpenTelemetry Java agent configuration properties, for example a binding key of OTEL_JAVAAGENT_ENABLED and a value of true could also be used to enable the agent. See the project documentation for a complete list of available properties.
The YourKit profiler integration is enabled by setting an environment variable for the YourKit buildpack. If the environment variable BP_YOURKIT_ENABLED is set to a truthy value (i.e. true, t, 1 ignoring case) at build-time then an agent appropriate for the application will be contributed to the application image.
Once contributed to an application image, the YourKit support can be toggled on/off by setting BPL_YOURKIT_ENABLED to a true or false value at runtime. Additionally, BPL_YOURKIT_PORT can be set at runtime to customize the port on which the agent listens, defaults to 10001, and BPL_YOURKIT_SESSION_NAME can be used to set the session name.
The buildpack supports the Java language.
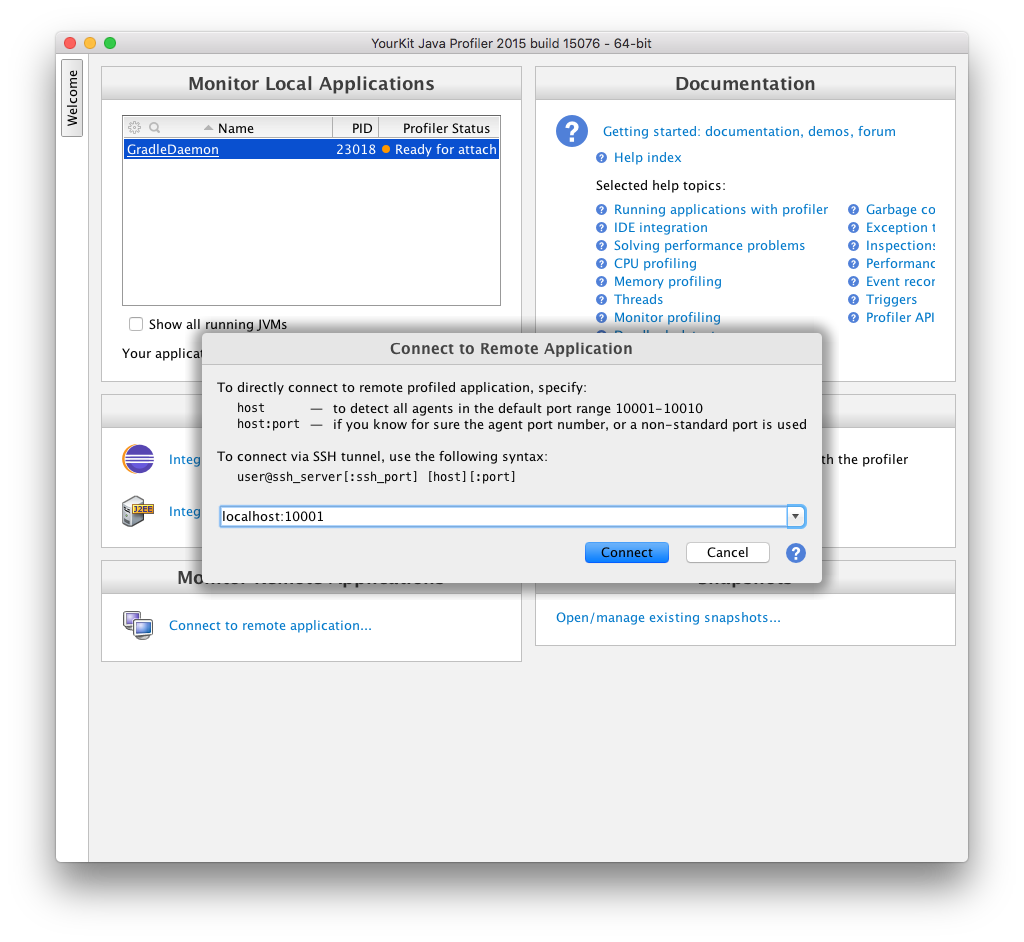
YourKit, which runs on your local computer, must connect to a listening port within your container. When starting an application with debugging enabled, a port must be published.
To publish the port in Docker, use the following command:
$ docker run --publish <LOCAL_PORT>:<REMOTE_PORT> ...
The REMOTE_PORT should match the port configuration for the application (10001 by default). The LOCAL_PORT can be any open port on your computer, but typically matches the REMOTE_PORT where possible.
Once the port has been published, your YourKit Profiler, running on your local computer, should connect to localhost:<LOCAL_PORT> for profiling.
The following examples show how to use Paketo APM buildpacks with your applications. The examples are broken down into two different types, those that require a binding and those that require an environment variable. Check the buildpack for your APM tool of choice to see if it requires a binding or an environment variable and follow the appropriate instructions.
Since all of the Paketo application monitoring buildpacks support the Java programming languages we’ll use the Java sample applications.
To run the examples, clone the repository and change to the Java sample application directory.
git clone https://github.com/paketo-buildpacks/samples
cd samples/java
Both of the examples assume that the Paketo Base builder is the default builder. If you haven’t already, set it as the default now.
pack config default-builder paketobuildpacks/builder-jammy-base
Many of the APM tools require a binding to trigger the tools to be installed and to pass required credentials at runtime. This example uses Azure Application Insights which is one such APM tool.
cd application-insights.
Build an image with the Azure Application Insights Java Agent:
pack build samples/java --volume "$(pwd)/binding:/platform/bindings/application-insights"
To connect to Azure Application Insights at runtime a valid Instrumentation Key is required.
echo "<Instrumentation Key>" > binding/InstrumentationKey
docker run --rm --tty --publish 8080:8080 \
  --env SERVICE_BINDING_ROOT=/bindings \
  --volume "$(pwd)/binding:/bindings/app-insights" \
  samples/java
The application should now be running and you can access it with curl -s http://localhost:8080/actuator/health | jq . or through your browser. The agent should be collecting and reporting data. Allow time for data to be reported to your APM vendor and check the APM vendor’s UI to confirm it’s receiving data.
Some of the APM tools require an environment variable to trigger the tools to be installed and only require a binding to pass private credentials at runtime. This example uses Datadog which is one such APM tool.
cd application-insights.
Build an image with the Datadog Java Agent.
pack build samples/java -e BP_DATADOG_ENABLED=true
Run the Datadog side-car agent. See Datadog instructions above. This is a specific requirement for Datadog, other APM vendors do not require this.
Configuration of the Datadog agent is done through environment variables at runtime. Run the application image passing in any required Datadog configuration.
docker run --rm --tty samples/java -e DD_SERVICE=foo-service -e DD_ENV=foo-env -e DD_VERSION=1.1.1
The application should now be running and you can access it with curl -s http://localhost:8080/actuator/health | jq . or through your browser. In addition, the agent should be running now.
If you’re using a profiler, you may connect by following the instructions in the section above for your profiler. If using a reporting agent, it should be collecting and reporting data now. Allow time for data to be reported to your APM vendor and check the APM vendor’s UI to confirm it’s receiving data.
Not all of the Paketo Application Monitoring buildpacks are presently included in the Paketo builders. At the moment, the builders include Azure Application Insights, Google Stackdriver, and Datadog.
We plan to add all of them in the future, but there are presently technical limitations around the maximum number of layers that can be added to the builder preventing more from being added to the builders. What you can do in the meantime is to manually include the APM buildpack that you would like to use at the end of the buildpack list.
pack build samples/java --volume "$(pwd)/binding:/platform/bindings/skywalking" -b urn:cnb:builder:paketo-buildpacks/java -b paketo-buildpacks/apache-skywalking
Note: it is important to use the urn:cnb:builder: reference so that the build uses the composite buildpack that already exists on the builder. If you reference a composite buildpack image, like docker.io/paketo-buildpacks/java or paketo-buildpacks/java, this will result in downloading and adding that image to the builder, despite it already being there, which increases the layer count and can make the build fail.
Last modified: March 30, 2026